


It’s an indisputable fact that the crust is the best part of any pie. It’s buttery and flaky and contrasts perfectly with any fruit or cream filling, bringing pie to a level a mere cake can never reach.
Unfortunately for those with a dairy or gluten intolerance, this level of perfection is one that can almost never be reached by crusts made without normal flour and tons and tons of butter. Usually, gluten-free or dairy-free pie crusts are not only bland from lack of butter, but have a chalky or cracker like consistency, making it something no one really wants to eat, and defeating the purpose of having a slice of pie altogether.
Today, all that changes.
No more going Whole Foods to buy a gluten-free pie crust, thinking it’ll be at least palatable, only to find in revolting. No more telling yourself that trying to make a gluten and dairy-free pie crust at home is something too hard to even consider.
This recipe is gluten-free and dairy-free, and yet still manages to mimic the buttery-ness of a normal crust, giving you the pie eating experience you deserve. And best of all? It is SO easy.
The ingredients for this pie crust may be a little pricey, but trust me, it’s worth it. This crust is the perfect vessel for any filling you can dream up, can also be used as a tart shell, and is easily doubled to make two crusts or work for a pie that needs a top crust layer. If you’re using this crust for a pie recipe that calls for an unbaked pie crust, simply stop at step four and use immediately or keep frozen until needed.
Gluten and Dairy-Free Pie Crust
- Prep Time:10 minutes
- Cook Time:15 minutes
- Total Time:25 minutes
- Servings:1 Pie Crust
- Easy
- 2 1/2 cup blanched almond flour
- 1 tablespoon coconut flour
- 1 large cold egg
- 5 teaspoon ice water
- 1/4 teaspoon salt
- 3 1/2 tablespoon palm shortening
Ingredients
-
Step 1
Preheat the oven to 325°F.
-
Step 2
Place the almond flour, coconut flour, egg, ice water and sea salt in a food processor and pulse for 30 seconds.

Photo by Michael Habisohn -
Step 3
Add the shortening, spacing the spoonfuls around the food processor bowl, and pulse 4-5 times until the dough just begins to come together.
Photo by Michael Habisohn -
Step 4
Press the dough into the bottom and sides of a pie pan, making sure to spread it evenly.
#SpoonTip: Use plastic wrap on top of the dough to spread it in the pie pan to keep your hands clean.
Photo by Michael Habisohn -
Step 5
Place a circle of parchment paper or aluminum foil on the pie crust and fill with pie weights or uncooked beans.
Photo by Michael Habisohn -
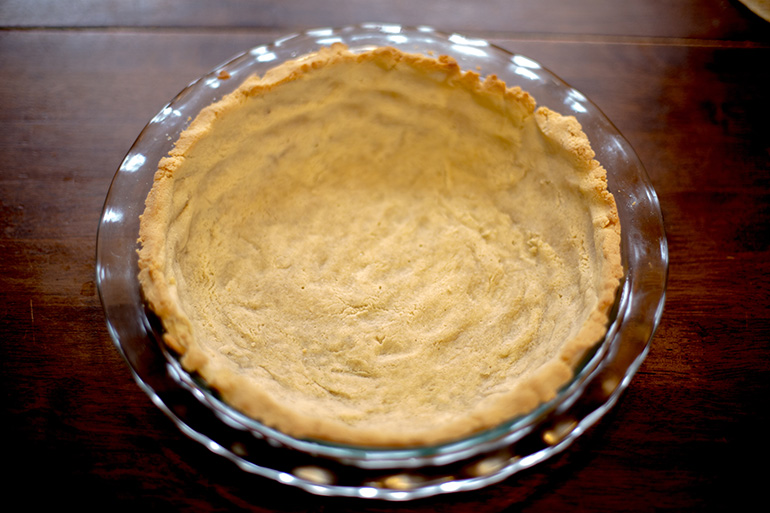
Step 6
Bake for 10 minutes or until the edges just begin to turn gold. Then carefully remove the parchment paper and beans and bake for another 5 minutes.
Photo by Michael Habisohn